• Process Explorer 11.21 – update

    I’ve been really busy in the last two months, but now I’m back and I’ll go ahead with the analysis of Process Explorer.

    Options

    Always on top – used to put the main Process Explorer’s windows on top of all the others

    Replace Task Manager – Really interesting function. When selected, the Process Explorer will replace the original Task Manager. If you want to put the task manager back, just click again on the same option and it will be restored.

    Hide when minimized – when flagged, only the icon in the traybar will be displayed and not the icon in the taskbar.

    Allow only one instance – if enabled, it will prevent to open more than one Process Explorer at the same time.

    Confirm Kill – if checked, everytime you try to kill a process, you’ll be asked for confirmation

    CPU History in tray icon – when enabled you’ll see an icon in the traybar next to the clock with the CPU usage history

    I/O History tray icon – same than the previous option, but the I/O output will be shown

    Verify Image Signatures – If enabled, Process Explorer will checks if a process’ image has been digitally signed by a certificate authority that is trusted by the computer. The Process Explorer will show Trusted (if it’s signed and trusted), Unsigned, or “Not Verified” (if is not trusted).

    Configure Symbols – Taken from the Help file: ”

    on Windows NT and higher, if you want Process Explorer to resolve addresses for thread start addresses in the threads tab of the process properties dialog and the thread stack window then configure symbols by first downloading the Debugging Tools for Windows package from Microsoft’s web site and installing it in its default directory. Open the Configure Symbols dialog and specify the path to the dbghelp.dll that’s in the Debugging Tools directory and have the symbol engine download symbols on demand from Microsoft to a directory on your disk by entering a symbol server string for the symbol path. For example, to have symbols download to the c:symbols directory you would enter this string:

    srv*c:symbols*http://msdl.microsoft.com/download/symbols”

    ning in the Tray

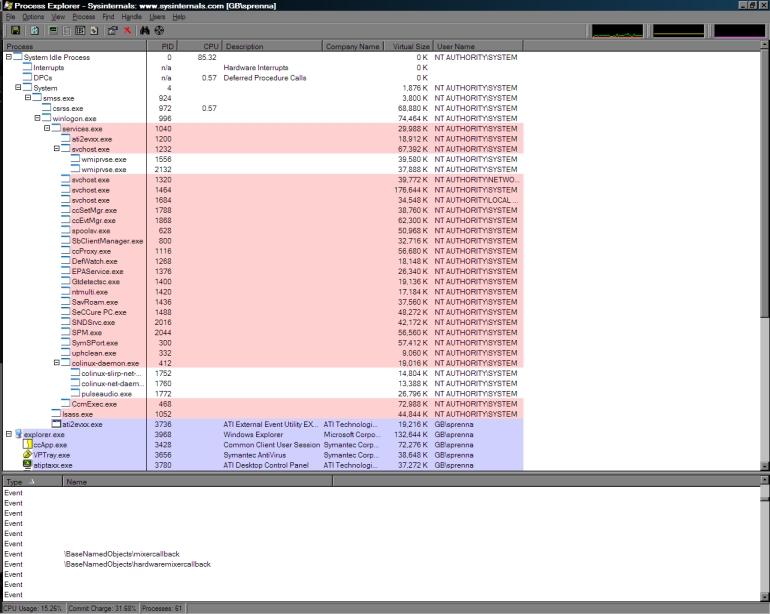
    Configure Highlighting – Use it to define which colors you want to assign to every kind of processes

    Difference Highlight Duration Define how much time will the new processes appears in green and the closing/killed ones in red. The default is 1 second.

    Font… – Choose the font that the software will use.

    Next step is to describe the View and the Proces menus… Hope this will happen soon!

    Thank you.

    Please support us by using Babylon search engine

  • Process Explorer 11.21 (procexp)

    Hi All,

    today I’ll start a review of all the softwares I’ve mentioned some days ago, and I think that the “Process Explorer” is a very good start.

    Process Explorer has been created by Mark Russinovich, and is the best replacement for the original Microsoft Windows’ Task Manager.

    I’ve used process explorer for various years, and it helped me a lot to troubleshoot and solve a large number of issues.

    Process Explorer's appearance

    Process Explorer

    In this image we can see Process Explorer’s appearance:

    On the top part we have the standard Menu bar and Toolbar. The main window lists the processes running on the machine and the last window shows (depending on how you configure it) the DLLs or the Handles associated to the process we highlight.

    Now, let’s analyse the Menu Bar; we can see 8 menu items: File, Options, View, Process, Find, Handle, Users and Help. In this post I’ll explain the first two menus: File and Options, just to avoid to make it too long:

    File

    Run: this will allow you to start an executable by writing its name in the proper field or by browsing your drives and double click on it.

    Runas: this will allow you to start an executable like the option “Run“, but before the program starts, you’ll be prompted for alternate credentials.

    Save: using this option will save the full content of both process window and the DLLs/Handles windows in TXT format.

    Save as: same as the previous option, but with the option to change the TXT filename.

    Shutdown: this will give you the opportunity to Logoff, Shutdown, Stand by, Lock or Restart your machine.

    Exit: use it to close the program.

    Options

    Always on top: put Process Explorer’s window on top of all the others.

    Replace Task Manager: replace the original Task Manager with the Process Explorer. Please note that the change can be reverted by choosing this option again.

    Hide when minimized: enabling this option will make the process explorer’s window disappear from the traybar when minimized (please note that the cpu usage monitor in the systray will remain – if enabled – and from there you’ll be able to restore it).

    Allow only one instance: allow or not to have more than one Process Explorer opened.

    Confirm Kill: ask confirmation when you try to kill a process.

    CPU History in Tray Icon: swap the  CPU history icon in the systray with the CPU Realtime usage icon.

    I/O History Tray Icon: enable/disable the I/O history icon in the systray.

    Verify Image Signatures: enable/disable will check or not if a specific process has a trusted signature (signed by a trusted root certificate authority).

    Configure symbols: this is to specify the path of the file dbghelp.dll. This is part of the Debugging tools for Windows, used by Process Explorer to identify the thread’s start addresses when you see the “threads” tab in the process’s properties.

    Configure Highlighting: specify colors for every different type of process.

    Difference Highlight Duration: this will change the amount of seconds (default 1) that new processes are shown in Green (started) or Red (killed/closed).

    Font: This is to change the default font used by Process Explorer.

    In the next post I’ll discuss the other options and in the last one I’ll give some tips and explanations on how to use it to solve specific issues.

    Have a good weekend!

  • Process Explorer 11.21 – update 3

    With this post we will conclude the general part of ProceXP 11.21. The final part will be related to various possible ways to use it in order to fix complicated issues (mostly virus/trojan related).

    Process

    When you have a process selected the items in the Process menu become active. You can access the same menu items by right-clicking on a process. The items enable you to do the following:

    Bring to Front – select this option to bring any windows owned by the selected process to the foreground.

    Set Priority – you can change the base priority of a process with this submenu. When you change the base priority of a process the system adjusts the priorities of threads within the process so that they remain at the same relative priority with respect to the new base priority.

    Set Affinity – on systems with multiple CPUs this menu item lets you bind the threads of a process to particular CPUs.

    Debug – choosing this menu item launches the debugger registered in HKEY_LOCAL_MACHINESoftwareMicrosoftWindows NTCurrentVersionAeDebug with the selected process as the command-line argument.

    Kill – this item terminates a process with the Terminate Process API. Note that a process terminated in this way is not warned of its termination and therefore does not write unsaved data it may have.

    Kill Process Tree – if the process pane is in the process tree sorting mode this menu item is available and allows you to kill a process and all of its descendants.

    Suspend – if you want a process to become temporarily inactive, so that a system resource such as network, CPU or disk, becomes available for other processes, you can suspend the process. Suspended processes show in a dark grey color. To resume a suspended process chose the Resume item from the process context menu.

    Restart – when you select this item Process Explorer terminates the highlighted process and starts the same image using the same command-line arguments. Note that the new instance may fail to run or behave differently if the original process ran in a different user account or had a different environment.

    Properties – this selection opens a property dialog that shows you more information about a process.

    Search Online – selecting this entry will result in Process Explorer launching the system’s configured Internet browser and initiating an Internet search for the selected process’ name.

    Find

    One of the common problems Process Explorer solves with ease is the question: what process has this file or directory open, or which processes have a particular DLL loaded?

    You can perform a handle and DLL search by selecting Find|Find Handle or DLL or by typing Ctrl+F. Searches are case insensitive substring searches of all of the handles opened and DLLs loaded on the system with the text you enter. Thus, to search for the process or processes that have c:directorysomefile.txt open enter enough text to make the search find only the results you are interested in e.g. “somefile”.

    The search dialog populates with the list of results indexed by process. Select a line in the results to have Process Explorer select the reported process and DLL or handle, and double-click on a line to have it do the same and dismiss the Search dialog.

    UserOn systems that include Terminal Services Process Explorer displays a Users menu that lists the currently connected sessions. Process Explorer creates a menu entry for each session that’s name includes the session’s session ID and the user logged into the session. Each entry opens a sub menu that has options for disconnecting, logging off, and sending a message to the session’s user. In addition, a Properties menu for each session entry opens a dialog box that lists detailed information about the session, including the IP address and name of the client connected to the session.

    The content of the Users menu is updated each time you open the menu to reflect current session information.

    It’s done for now. Now let me a few days to complete the “usage guide”…